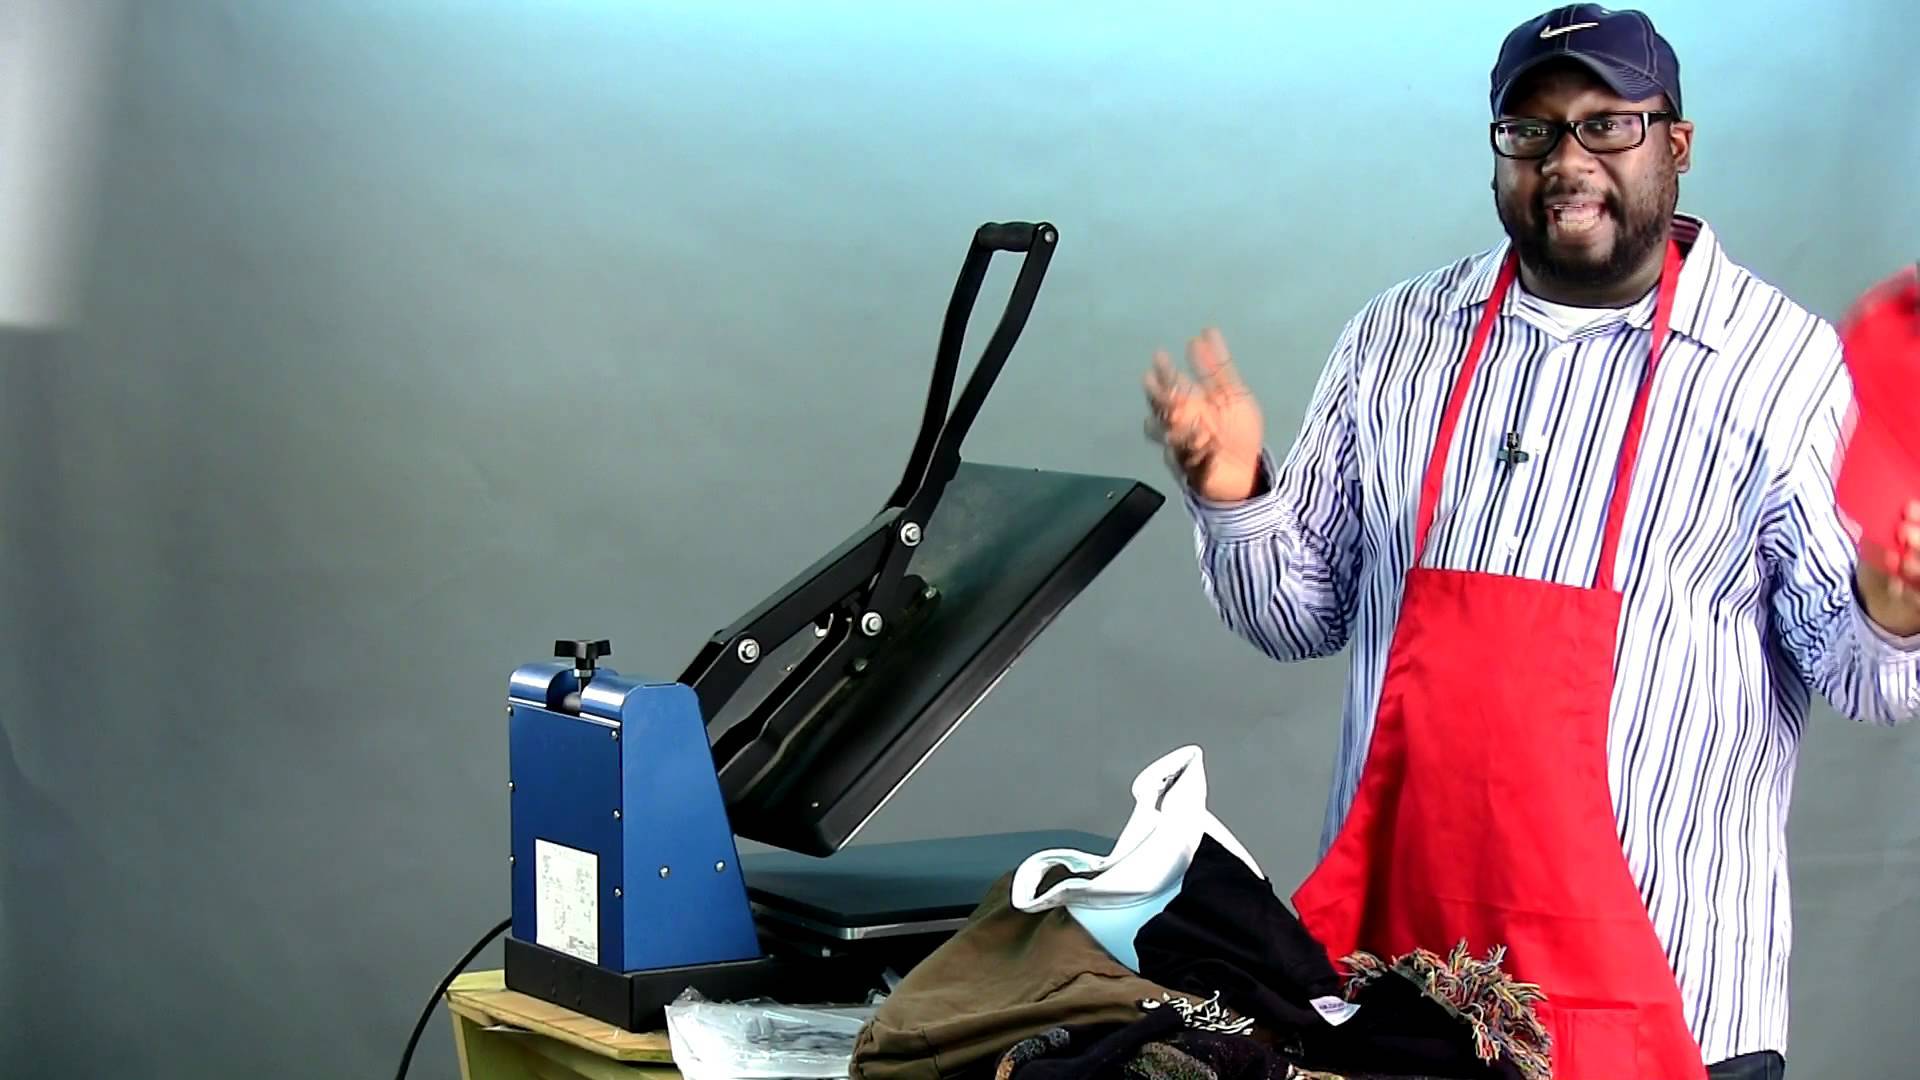
It is said that the heat press machine is quite easy to use. However, it helps to have a handy step by step guide within reach whenever you need it.
Even if you are a pro at using heat press machines , it does not hurt to be reminded of the steps needed to get the best t-shirt printing job done.
This step-by-step guide has broken down the steps into two broad series, the first series or preparation steps, and the second series or the actual use steps.
In the first series of steps, you are preparing to use the heat press. This involves selecting and testing your fabrics, transfer paper, and tweaking your designs. In the second series of steps, you are warming up and using the heat press machine itself.
So here goes:
Preparation
- Select the best fabric: It is important to check your fabrics to make sure that they are tolerant to heat. Certain fabrics, such as synthetic fabrics may not do well in extreme heat (they will melt). So, it is vital that before you engage your heat press you know which temperature settings are best for the fabric you are working with. Not only should you be aware of the fabric’s heat tolerance, you will need to be aware of how the fabric performs when a design is printed on it. Some fabrics are naturally wrinkly or crushed, so you would need to prepare it by ironing it out before you print your design. Yet, even after you do so some fabrics refuse to keep the wrinkles out and any design you heat pressed into it will look awful. So, choose your fabrics carefully in order to get the best result from your heat press.
- Smooth out your garment : Before you load your garment into the heat press machine, ensure that it is as smooth as possible to accept the printed design. To do so, you would need to iron it out to remove wrinkles. Even if you hate ironing, this is a necessary step if you want the best result in your heat printing. You may also use the heat press itself to get rid of the wrinkles. Simply place the t-shirt or garment between the plates and cover with the protective sheet and press. Your t-shirt or garment will become smooth and ready to take the printed image you want to transfer.
- Create or tweak your design : By this stage, you should have already selected your design and all that is needed is to check its size, colors, and resolution to ensure that it is what you want. You can make any changes you need at this point to ensure that the final design is exactly what you want on your t-shirt.
- Test your prints: At this stage, you may test the print on regular paper or on a garment you are not going to wear. If you are satisfied with the results, you may put your design on transfer paper. Another precaution you would want to take is to stretch each t-shirt or garment carefully so that your prints will not crack after you apply them.
- Select your transfer paper vinyl . Actually, this is what you need to do before performing any t-shirt printing. This is to ensure that you have the right transfer paper for your printer. The different brands of transfer paper are suitable for certain printers so you would need to verify that the transfer paper you selected is best for the printer you will be using. Also, note that the transfer paper used to print on white t-shirts is not the same as the one used to print on dark colored tees.
Use
Now you should be ready to use the heat press machine. Here are the steps in a nutshell.
- Turn your heat press on.
- Adjust the temperature and time using the up and down arrows.
- Set your heat on high and warm up your heat press.
- Carefully put the material you want to print flat on the machine’s bottom plate. Your material is also stretched while you do this.
- Warm up the material for heat printing.
- Bring the handle down to rest on your garment or t-shirt for around five seconds.
- Press the digital timer button to start the press (if your machine has one). At the sound of the alarm, stop the press and reset the timer.
- Lift the handle open to prepare it for printing.
- Place the material or shirt you want to print face down and place the transfer paper on top of it.
- Bring the handle of the heat press machine down and lock it in place.
- Use the instructions on your transfer paper to set the timer.
- After your timer ends to lift the handle to open the heat press and strip the transfer paper from the t-shirt or material.
- Allow your print to set (or cure) for at least 24 hours before you wash the fabric.
There, you are finished!
Once you follow these step by step guide or the user manual for your heat press machines, you will be able to operate your heat press machine will confidence and produce awesome results.
You may check the video also:
Video Credit: YouTube